“Editing Magic – Post-Processing Tips for Drone Footage”
This comprehensive guide will research into the art of post-processing drone footage to enhance its visual appeal and storytelling capabilities. As drone technology continues to revolutionize the world of videography, knowing how to properly edit and enhance drone footage is essential for creating stunning visuals. From color correction to stabilization, this blog post will provide valuable tips and techniques to help you transform your raw drone footage into cinematic masterpieces.
Preparing Your Drone Footage for Editing
A crucial step in the post-processing workflow of drone footage is preparing your media files for editing. This process includes organizing your files efficiently and selecting the best takes for your project. By following these steps, you can streamline your editing process and ensure a smoother workflow.
Organizing Your Media Files
Organizing your media files is essential to avoid confusion and save time when editing your drone footage. Create a folder structure that makes sense for your project, such as organizing clips by location, time of day, or specific shots. This will help you easily locate the footage you need during the editing process.
Consider renaming your files with descriptive names that indicate the content of each clip. This will further assist you in identifying the footage you want to use without having to preview every file. Using software tools like Adobe Bridge or Lightroom can also help you organize and preview your media files effectively.
Selecting the Best Takes
Footage selection is a critical part of the editing process that can significantly impact the final outcome of your video project. When reviewing your drone footage, look for clips that are well-composed, in focus, and contain the desired content. Consider factors like camera movement, lighting, and overall visual appeal when choosing the best takes for your edit.
Drone footage often captures stunning aerial views, so be sure to select shots that highlight the landscape or subject of your video effectively. Take into account the pacing and flow of your video when selecting clips, aiming for a cohesive and engaging narrative. Do not forget, quality over quantity—choose the best takes that will enhance your final edit and captivate your audience.
Essential Post-Processing Techniques
Color Correction and Grading
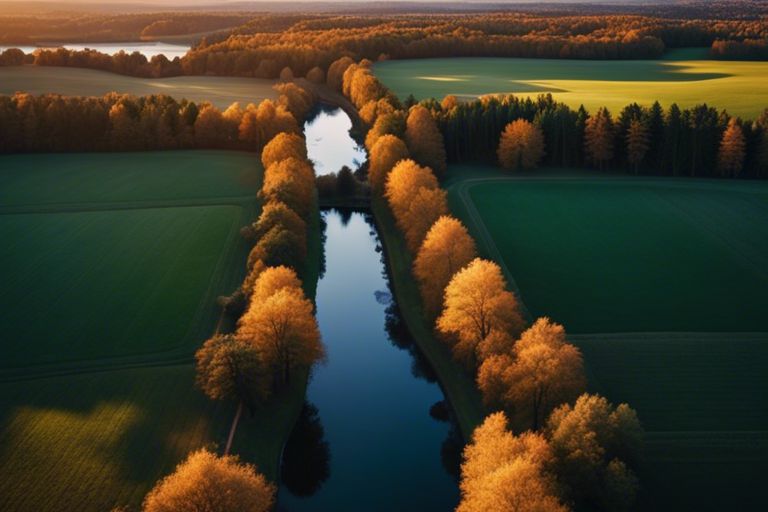
With the right color correction and grading techniques, you can transform your drone footage from raw and dull to vibrant and professional. This process involves adjusting the colors, contrast, and overall look of your video to enhance its visual appeal and consistency.
By fine-tuning the color balance, saturation, and exposure levels, you can create a cohesive and polished look for your footage. Whether you aim for a natural, cinematic, or stylized color grade, investing time in this step can greatly elevate the quality of your drone videos.
Stabilization and Noise Reduction
Stabilization is essential to eliminate unwanted shake and jitter commonly found in drone footage due to wind or rapid movements. Using software tools, you can smooth out these motions and create a more professional and seamless viewing experience for your audience.
To further enhance the visual quality of your drone footage, consider applying noise reduction techniques. Noise, often visible in low-light conditions or high ISO settings, can distract viewers from the content. By reducing noise, you can achieve a cleaner and more visually appealing final product.
Adding Transitions and Effects
To enhance the overall cinematic feel of your drone videos, incorporating transitions and effects can take your footage to the next level. Smooth transitions between clips can create a seamless viewing experience, while subtle effects like light leaks or lens flares can add a touch of creativity and style.
Grading and blending these transitions and effects seamlessly into your footage can elevate the storytelling and visual impact of your drone videos. By mastering these techniques, you can create captivating and engaging content that captivates your audience from start to finish.
Advanced Editing Tips for Enhancing Your Drone Footage
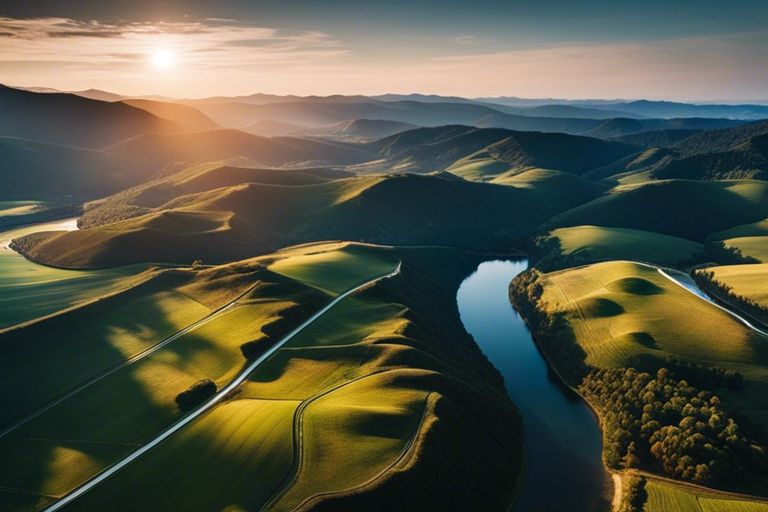
Not all drone footage is created equal, and the right editing techniques can take your aerial videos to the next level. Here are some advanced editing tips to help you enhance your drone footage:
- Working with LUTs and Presets
- Creative Use of Speed Ramping and Time-Lapse
| Technique | Description |
| LUTs | Color grading made easy through pre-defined color adjustments for a cinematic look. |
| Presets | Save time by applying pre-set editing configurations and styles to your footage. |
Working with LUTs and Presets
One way to quickly enhance the look of your drone footage is by using Look-Up Tables (LUTs) and presets. LUTs are pre-defined color grading profiles that can give your footage a cinematic look with just a few clicks. Presets, on the other hand, allow you to save editing configurations and styles for quick and consistent application.
By familiarizing yourself with LUTs and presets, you can streamline your editing process and achieve professional-looking results in a fraction of the time.
Creative Use of Speed Ramping and Time-Lapse
Time-lapse and speed ramping are creative editing techniques that can add a dynamic element to your drone footage. Time-lapse allows you to condense long footage into short, visually-stunning sequences, while speed ramping creates smooth transitions in speed for a cinematic effect. By mastering these techniques, you can add visual interest and storytelling depth to your aerial videos.
Editing plays a crucial role in enhancing the impact of your drone footage. By incorporating advanced editing techniques like speed ramping, time-lapse, LUTs, and presets, you can elevate the quality of your aerial videos and captivate your audience with stunning visual content.
Audio Enhancement and Sound Design
To enhance the overall quality of your drone footage, attention to audio is just as important as refining the visuals. Incorporating audio enhancement and sound design techniques can take your video to the next level, immersing viewers in a truly captivating experience.
Basic Audio Adjustments
On a fundamental level, basic audio adjustments can significantly improve the sound quality of your drone footage. Start by ensuring that the audio levels are balanced and clear. Remove any background noise or unwanted sounds using audio editing software. Additionally, you can enhance the audio by adjusting the EQ settings to emphasize certain frequencies and make the sound more vibrant.
When working on basic audio adjustments, it is crucial to pay attention to the timing and synchronization of the audio with the visuals. Make sure that the audio complements the on-screen action seamlessly, enhancing the overall impact of the footage. By fine-tuning the basic audio elements, you can create a more polished and professional final product.
Using Music and Sound Effects to Complement Visuals
Enhancement of drone footage through the strategic use of music and sound effects can elevate the viewing experience to new heights. By carefully selecting appropriate music tracks and sound effects, you can evoke emotions, set the tone, and create a cohesive narrative that complements the visuals. Music and sound effects have the power to enhance the mood and atmosphere of your footage, making it more engaging and memorable for viewers.
Exporting and Sharing Your Work
After you have meticulously edited your drone footage, the next step is to export and share your work to showcase it to the world. This final stage is crucial as it determines how your videos will appear to your audience.
Choosing the Right Export Settings
One of the most important aspects of exporting your drone footage is selecting the right export settings. The settings you choose will depend on where you intend to showcase your video and the quality you want to maintain. For social media platforms, a high-quality resolution with a smaller file size is ideal to ensure smooth playback. On the other hand, if you are creating a professional portfolio or submitting your work to film festivals, you may opt for the highest resolution possible with a larger file size to preserve every detail of your footage.
When exporting your drone footage, consider the frame rate, resolution, codec, and bit rate. Understanding these technical aspects will help you achieve the best results based on your intended use. Experiment with different settings to find the optimal balance between quality and file size for your specific needs.
Platforms for Showcasing Your Drone Videos
Videos captured by drones have a unique ability to captivate audiences with stunning aerial perspectives. Sharing your drone videos on the right platforms can greatly enhance their reach and impact. Popular platforms like YouTube, Vimeo, and Instagram provide excellent opportunities to showcase your drone footage to a global audience. Each platform offers distinct features and audience demographics, allowing you to tailor your content to reach your desired viewers effectively.
Exporting your drone footage to multiple platforms can maximize your video’s exposure and engagement. Remember to optimize your videos for each platform by following their specific guidelines for resolution, aspect ratio, and file format. By leveraging the reach of these platforms, you can share your drone videos with a broader audience and connect with like-minded enthusiasts and potential clients.
Final Words
Presently, mastering post-processing techniques for drone footage can greatly enhance the quality of your aerial videos. By following the tips and tricks mentioned in this article, such as adjusting the exposure, color grading, and stabilizing the footage, you can truly unleash the full potential of your drone footage. Remember that practice makes perfect, so don’t be afraid to experiment and find your unique editing style. With dedication and attention to detail, you can turn your raw drone footage into stunning cinematic masterpieces that will captivate your audience. So, roll up your sleeves, examine into the world of post-processing, and let your creativity soar in the skies.
