“Beyond Auto Mode – Manual Settings for Professional Drone Photography”
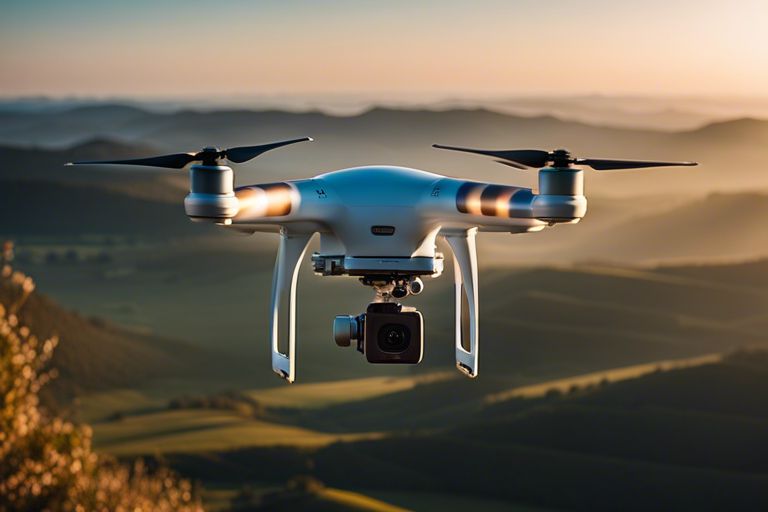
Photography enthusiasts and professionals seeking to elevate their drone photography game often overlook the power of manual settings. Understanding and mastering manual settings such as aperture, shutter speed, and ISO can take aerial photography to the next level, allowing for more creative control over exposure, depth of field, and image quality. In this informative blog post, we will examine into the importance of manual settings for drone photography and provide tips on how to optimize them for stunning aerial shots.
Mastering the Basics of Manual Settings
For professional drone photographers, mastering manual settings is essential to elevate the quality of your aerial imagery. While auto mode can be convenient, manual settings offer greater control and customization over your drone camera’s output. Understanding key parameters such as ISO, shutter speed, and aperture will empower you to capture stunning shots with precision.
ISO Settings for Drone Cameras
Drone photography often involves varying lighting conditions, making ISO a crucial setting to master. The ISO setting determines your camera sensor’s sensitivity to light, with higher ISO values being ideal for low-light environments but potentially introducing noise to your images. Finding the right balance between ISO and other manual settings is key to achieving clear, well-exposed photos from your drone.
When setting your drone camera’s ISO, consider the lighting conditions of your surroundings and the desired aesthetic for your shots. Experiment with different ISO values during practice flights to understand how they impact the overall image quality. By mastering ISO settings, you can optimize your drone photography for both daytime and nighttime scenarios.
Shutter Speed and Its Effects on Aerial Images
Speed is of the essence when it comes to mastering shutter speed for aerial photography. Shutter speed controls the amount of time your camera’s shutter remains open, influencing motion blur in your images. For fast-moving subjects or sharp, detailed shots, a faster shutter speed is recommended to freeze the action and capture clear details in mid-air.
To ensure sharp, blur-free aerial images, adjust your drone camera’s shutter speed based on the speed of movement in your frame. Faster shutter speeds work well for capturing static landscapes or objects, while slower speeds can create a sense of motion in your aerial photos. Experiment with different shutter speed settings to understand their effects on your drone photography compositions.
The Art of Aperture Control
The control over the aperture is a crucial aspect of manual photography, including drone photography. Understanding how aperture works and mastering its manipulation can significantly enhance the quality and creative capacity of your aerial images.
Aperture Priority for Landscapes and Vistas
One of the most common uses of aperture control in drone photography is to achieve optimal depth of field in landscape shots. In aperture priority mode, you can set the desired aperture value while the camera adjusts the shutter speed accordingly. A smaller aperture (higher f-stop number) such as f/8 or f/11 is commonly used to ensure that both the foreground and background are in sharp focus, ideal for capturing expansive landscapes and vistas with intricate details.
Creative Use of Depth of Field in Aerial Photography
Landscapes viewed from above present a unique opportunity to experiment with creative depth of field effects. By using a wider aperture (lower f-stop number), you can isolate specific subjects or areas of interest within the frame, creating a visually striking composition. Blurring the background while keeping the main subject sharp can draw the viewer’s attention and add a sense of depth to the image.
This technique can be particularly effective when capturing aerial shots of architectural landmarks, natural formations, or even abstract patterns from a bird’s eye view. By strategically controlling the depth of field, you can elevate the artistic appeal of your aerial photography and convey a unique perspective to your audience.
Advanced Techniques in Drone Photography
Despite the convenience of auto mode in drone photography, understanding and utilizing manual settings can greatly enhance the quality and creativity of your aerial shots. Advanced techniques allow for more control over the final image, resulting in professional-looking photos.
- Bracketing and HDR for Dynamic Range Enhancement
- Utilizing Filters for Color Correction and Effect
Bracketing and HDR for Dynamic Range Enhancement
Range
Bracketing is a technique where multiple shots are taken at different exposure levels. These shots are then combined using software to create High Dynamic Range (HDR) images. HDR photos have a greater range of tonal detail, from the brightest highlights to the darkest shadows, resulting in a more balanced and dynamic final image. This technique is especially useful in drone photography where lighting conditions can vary significantly.
Utilizing Filters for Color Correction and Effect
The
To enhance the colors and overall look of your aerial photographs, utilizing filters is essential. Filters can correct color casts caused by different types of lighting or atmospheric conditions, as well as add creative effects such as polarizing or ND filters. Experimenting with various filters can help you achieve the desired mood and style in your drone photography.
Navigating Challenges in Manual Drone Photography
Dealing with Moving Subjects and Vibration
Keep in mind that when photographing moving subjects with a drone, such as vehicles or wildlife, it’s crucial to adjust your manual settings to achieve sharp and blur-free images. To counteract the effects of vibration from the drone’s motors, consider increasing your shutter speed to freeze the motion. Additionally, using burst mode can help capture multiple images quickly, increasing the chances of getting the perfect shot.
Manual adjustments to your drone’s camera settings, such as lowering the ISO and adjusting the aperture, can also improve the overall image quality by reducing noise and increasing sharpness. Experiment with different settings to find the perfect balance for capturing fast-moving subjects with clarity and precision.
Weather Considerations and Flight Safety
With manual control over your drone’s settings, you have the flexibility to adapt to changing weather conditions and ensure safe flight operations. Before taking off, check the weather forecast and adjust your settings accordingly. For example, in bright sunlight, you may need to use a lower ISO to prevent overexposure, while in low light conditions, increasing the ISO can help maintain image quality.
Flight safety is paramount when flying a drone in challenging weather conditions. Be aware of wind speeds, precipitation, and other factors that could affect your drone’s stability and performance. Always prioritize safety by following local regulations, maintaining line of sight with your drone, and monitoring environmental conditions throughout your flight.
Summing up
With this in mind, mastering manual settings for professional drone photography is essential for capturing stunning aerial images and videos. Understanding concepts such as exposure, white balance, and ISO will allow drone pilots to take full control of their camera and achieve the desired results in various lighting conditions. By applying the techniques and tips discussed in “Beyond Auto Mode – Manual Settings for Professional Drone Photography,” photographers can elevate their drone photography to new heights and create visually captivating content that stands out from the rest.
